


Last year, before the madness of the 2020 began, I signed myself up to a Macaron Masterclass, I had always fancied making them and to be honest I never tried up until that point. I wanted to learn from the best. The pastry chef was on hand to show us all what was involved in making them and even admitted that Macarons can be difficult to make and can be temperamental, any slight wrong move can mess the whole thing up… I hope I haven’t put you off!!! However, hopefully reading this will help you avoid any mistakes. So… back to the class… It was a brilliant fun, and I was so proud of what I made, I went home and shared the Macarons out to family and friends and thought I can make these again… no problem at all!! Or so I thought…
I just loved the class, and I did learn so much and was excited about making them again at home. I bought all the ingredients and followed the instructions as before and the end result just wasn’t the same…. Have a look at the pictures below… these are some major fails. I am not going to sugar coat this, I think I have driven myself crazy making them. A lot of time and effort goes into it and then once you are at the final stages of taking them out the oven and they have gone wrong… Aaaaaah!! It is a little bit disheartening but like I say it’s all about trial and error.
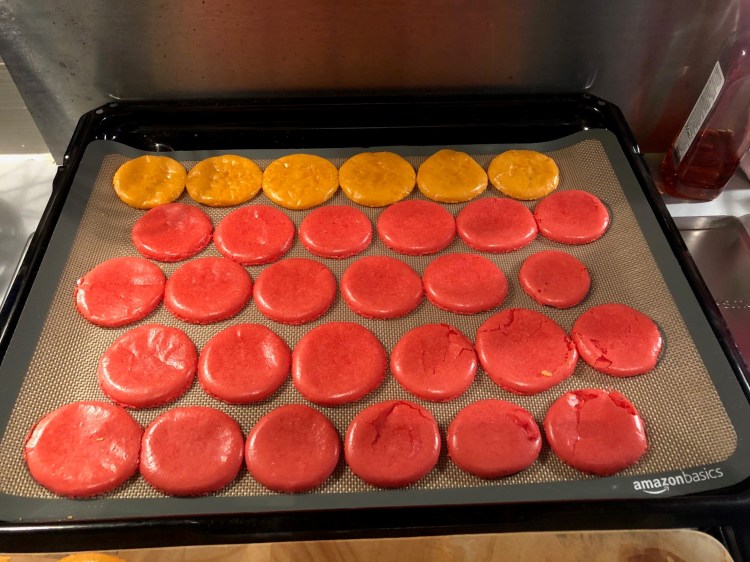
1. Mixture was too runny and too high heat in oven 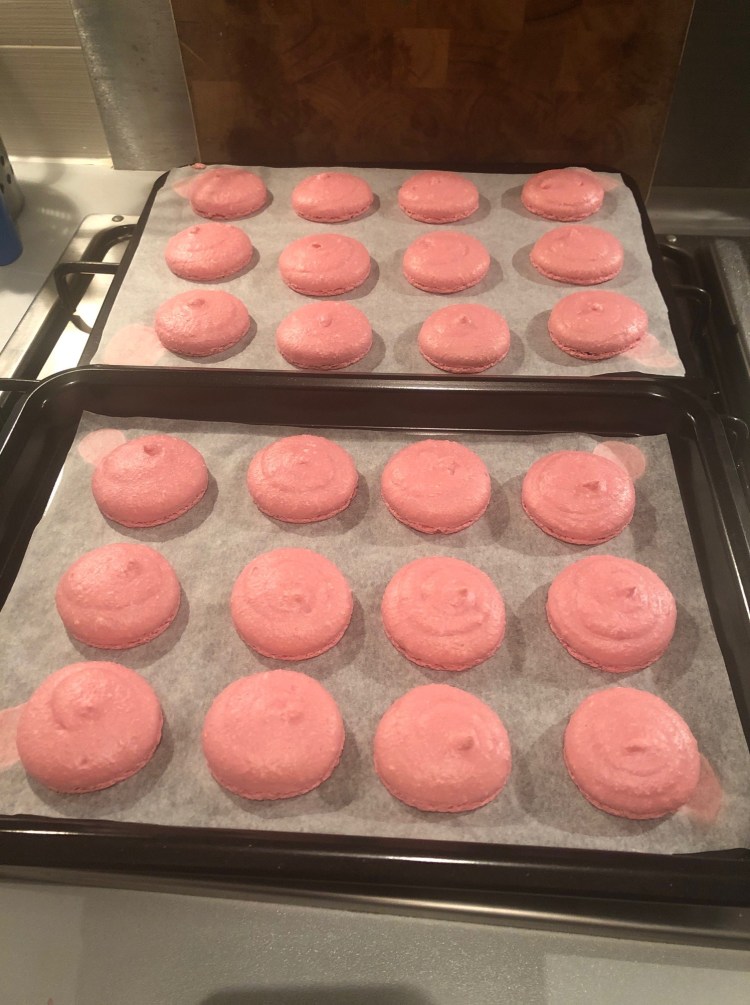
2. Mixture was too lumpy 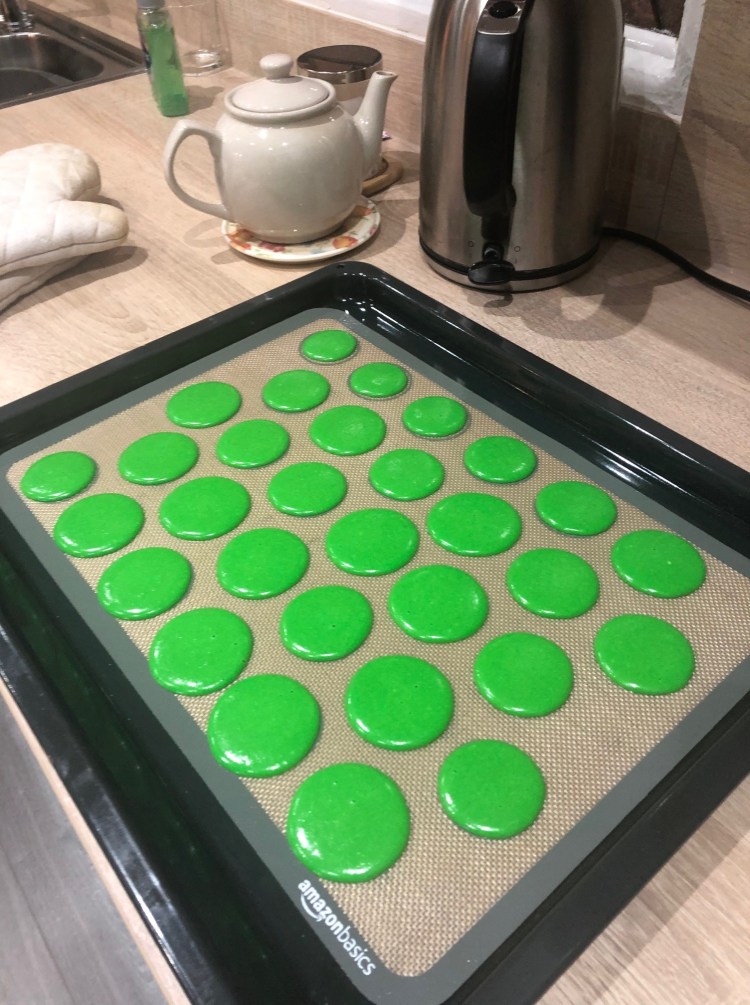
3. Mixture was too runny
There are two ways to make Macarons, there is the French meringue or the Italian meringue method. The way I have been shown to make them is by using the Italian meringue (Chef also said that this is the better way too)
Picture 1, shows you the final products of everything that has gone wrong. This batch was too runny and then the oven was too hot and cracked all of the macaron shells.
Picture 2, well I was being too impatient with this one. One of the stages of the process is to sieve the almond mix, I skipped this, and the mixture was too lumpy.
Picture 3, the mixture (pre oven) was too runny, and you can see from this picture how thin each one looks and overspills once it has been piped. You want a slightly thicker consistency.
Recipe instructions.
I think I am best to break this down into different sections to show you the best way to make them. I would suggest take your time… there is no hurry, and you want to get it right.
Step 1: Start with the Almond mix. Measure the ground almonds and sieve them into a bowl. You will find that they will not all sieve, so blitz them in a blender/ chopper and sieve again. It is so important that this mixture is right as you do not want it to be lumpy. Also, this can be quite a lengthy process so stick with it and repeat until you have the desired weight.
Once you have the almond mixture, measure out the same amount of icing sugar and sieve this into the ground almonds. Also have the egg whites ready. Add 75 ml to the mixture and mix using the spatula so it becomes a paste like consistency. You want the mixture to be quite stiff. See pictures below. Add some food colouring to the mix… any colour you like. I’ve gone for the traditional pink. The colour does fade in the oven so the shade will be lighter once out the oven.
Now leave this mixture to the side and move onto the next step. I have found that it is better to leave the Almond mixture for a while, the consistency thickens, which is better for when the meringue mix is added.

Almond & Icing Sugar Paste 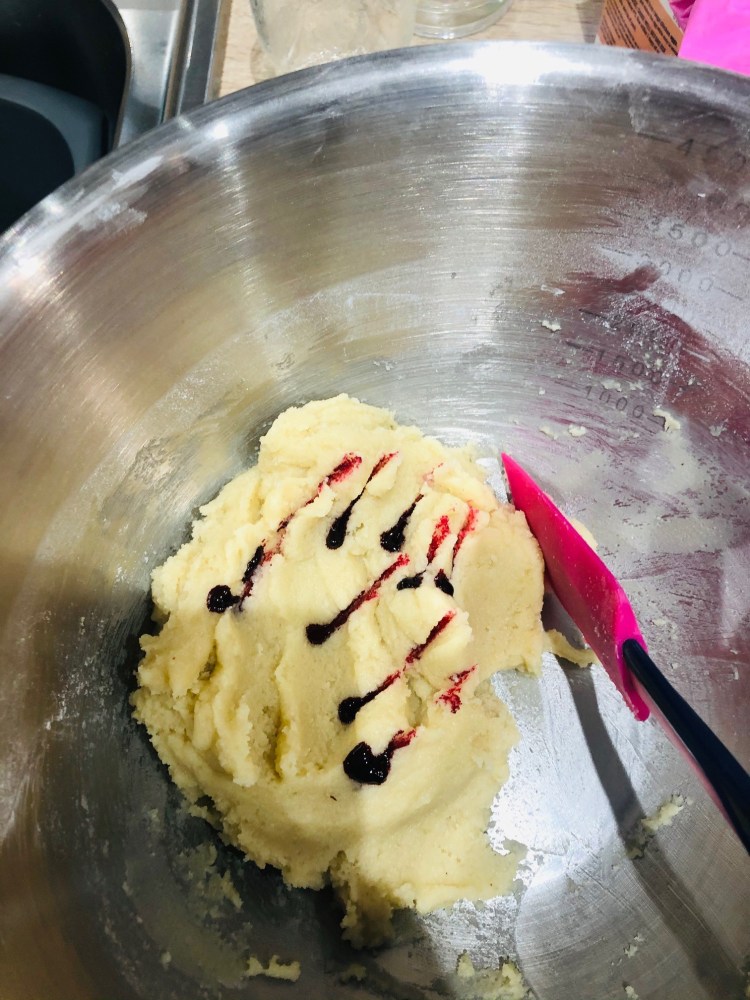
Almond & Icing Sugar Paste with Food colouring
Step 2: This is for making the Italian meringue, which involves heating sugar and beating the egg whites. The last time I made this I used egg whites from a carton which did not form the meringue so I would suggest to separate the fresh egg whites the old fashioned way 🙂 Measure out 75ml of egg white (I think this is normally 3 eggs worth). Put it in the bowl and whisk the egg whites until nice and fluffy and looks like a cloud.
Measure out the sugar and add to a pot, add the 50ml of water and mix so it is a wet mixture. Be very careful doing this as you do not want sugar crystals to form at the side of the pot. If you see that there is just get a pastry brush and dip in water and brush the side of the pot over the crystals for them to melt. If this means there is more water in the pot, don’t worry about that, it will just take longer to boil. Now gently heat the sugar. Using the thermometer, boil the sugar until it reaches 118 degrees.
Once the sugar has reached 118 degrees gently add to the egg white mix and whisk. Add to the side of the bowl as you do not want to spin the sugar and it is also extremely hot and you don’t want hot sugar flying everywhere. So be incredibly careful here.
You want to see a very white and glossy mixture. See below. Also, you can test it by turning the bowl upside down and if is meringue mixture stays in place then your work here is done. If not, then you have a meringue mixture to clean up off the floor. 🙂

You want the meringue mixture to look like this. 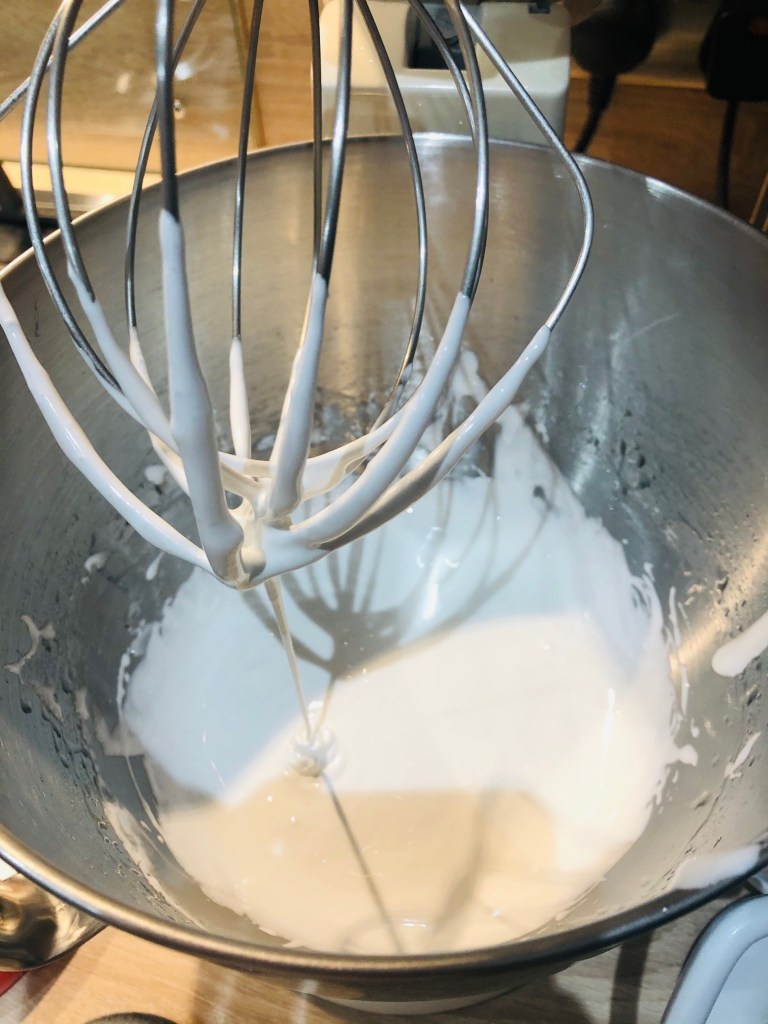
I used egg white from a carton here and it just didn’t work.
Step 3: Add a about a third of the meringue into the almond paste mixture, fold this in and repeat with the remaining in 2 batches. Mix this well to a smooth consistency. You still want this to be quite thick, take a spoonful of the mixture and try and draw a figure of 8 in the mixture with it. when you see the mixture fall of the spoon you want it to fall off in layers, if that makes sense, you don’t want to see it run continuously off the spoon. The mixture should be thicker than that.
I would suggest leaving the mixture for a while (1 hour) … maybe tidy up get the kitchen or have a cuppa and chill for a while. It’s been a long process so far, so will be nice to have a little time out to recuperate 🙂
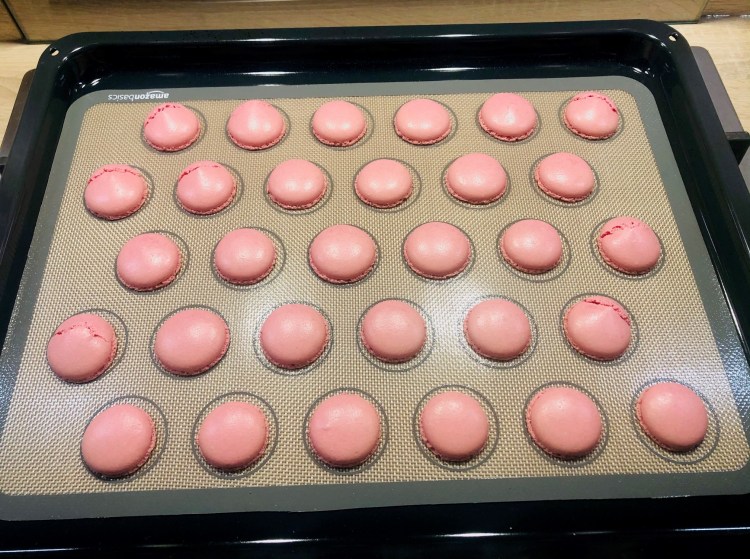
Prep the baking trays with silicon paper or if you have the macaron mats, they are great too. Get the piping bag and then transfer the mix to the bag and get piping. I suggest pipe small round dots (around 3-5 cm) down the middle of the baking tray…. see image 1 below. Once you have piped the macarons onto the tray, tap the bottom of them (lift the tray about 30 cm from the surface and drop) this will get air out of the mixture. The Macarons will need to dry for 30 minutes so that a film forms over the top of each of them. It is so important that you follow this stage!!! If you just put it straight into the oven they will crack and just ruin all your hard work.
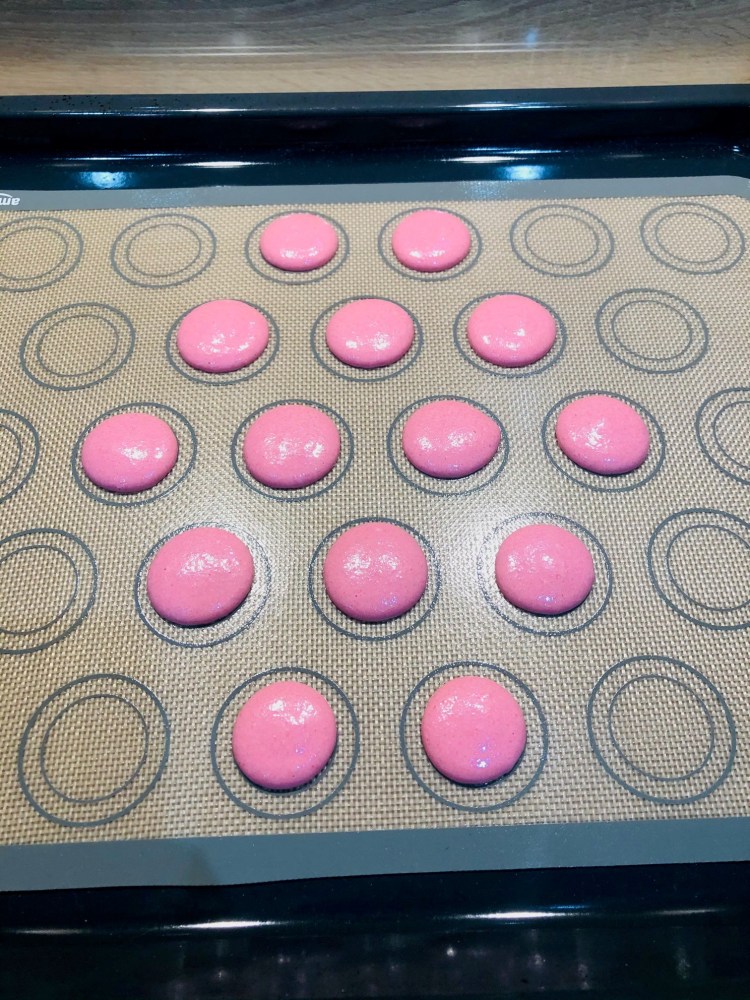
1. Leave to dry for 30 mins 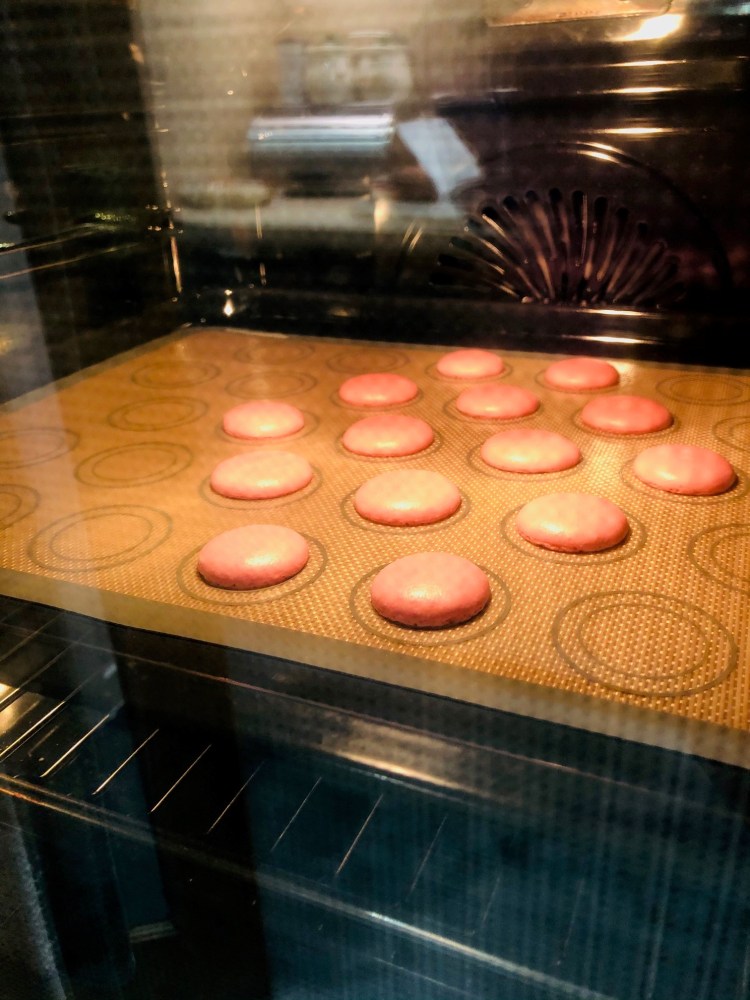
2. Bake for 15 mins 
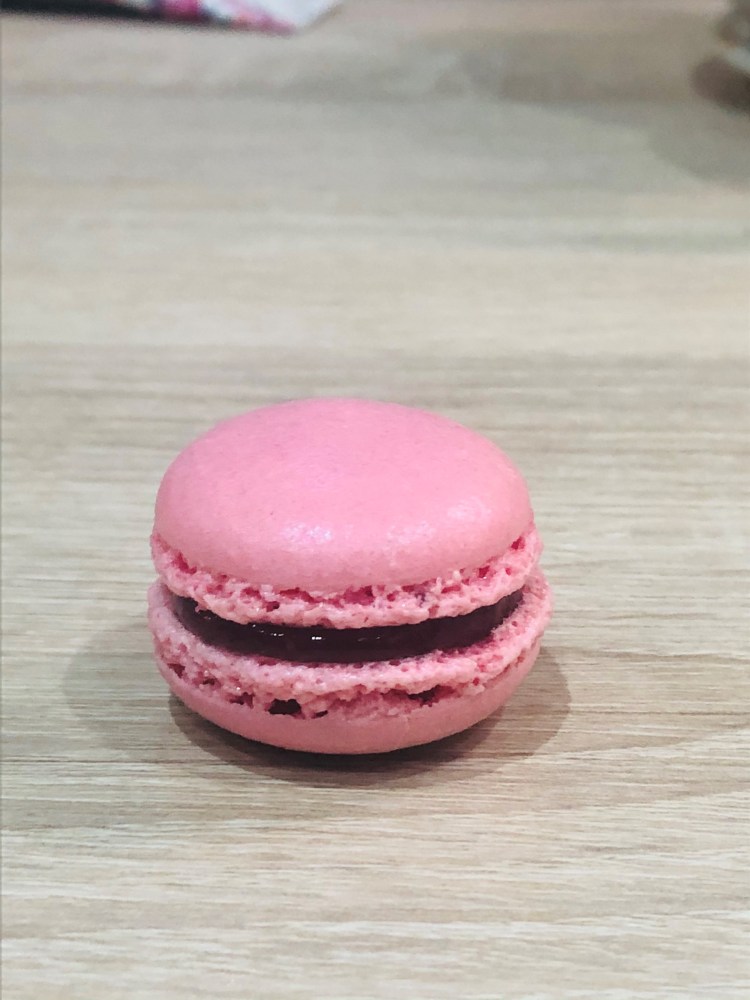
3. Final product
I have found that depending on your oven some may crack while baking, so I would suggest piping some of the mixture to the middle of the baking tray and put in the oven to test and work out the best temperature that works. Every oven is different so I think it is worth spending time on this as you may have to experiment with the temperature. There is nothing worse when you have spent so much time preparing the mixture for it to go wrong at this stage. I have played around with this on so many times and I have found that 135 degrees for 15 mins has worked best. Make sure you preheat the oven too!! If the oven is too hot, the macarons will crack. So, if you prefer, start with a lower temperature and keep in the oven for longer. Don’t open the oven door within the first 10 mins as you may sink the meringue. You want to see a smooth surface over the top of each one and at the bottom you will see that it has risen slightly, see image 2 above. Take out the oven and let them cool before removing them from their mat/ paper.
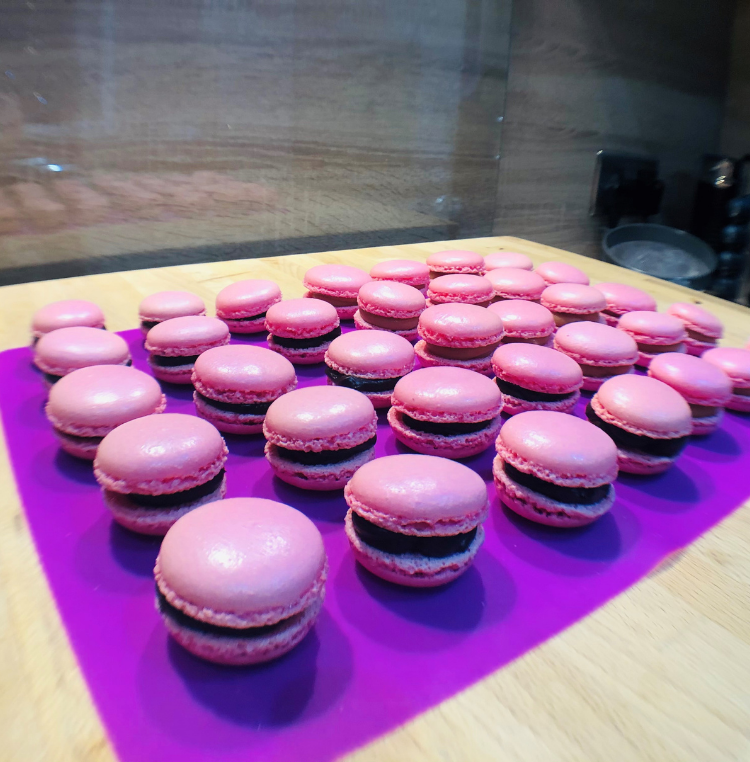
Full tray 
Cooled Macarons
I tried a full tray and as you can see from the picture above, the full tray has some cracked meringues around the edge of the tray. I think this is due to the oven settings. I recommend just using the middle of the baking tray unless you are happy to use the full baking sheet. Once the meringues have cooled and taken off the tray, it should have a flat surface, see image above.
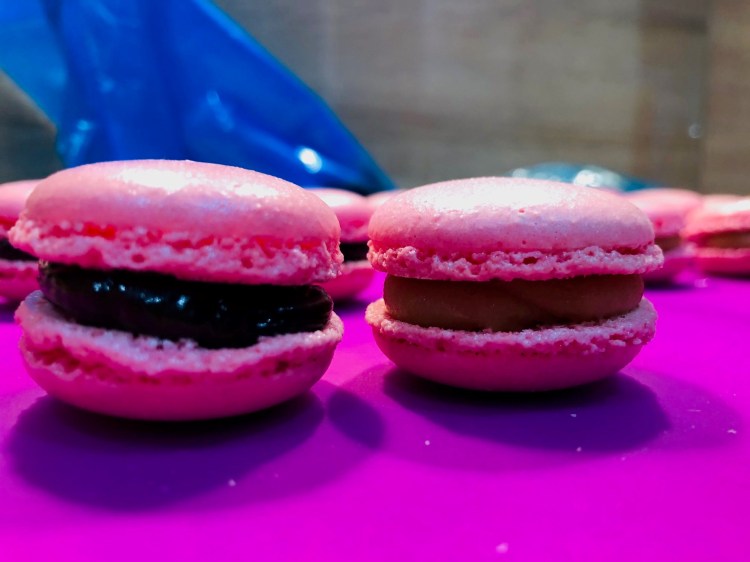
Once you have baked and cooled all of the macarons, you can pair them up with similar shaped ones and then sandwich together with a filling of your choice. If you have some jam, this is a quick and easy filling. Put some in a piping bag and fill on one of the meringues. Put an indent on the back of one of the meringues and fill with the jam and place another one on top. And there you have it… the perfect Macaron!! 🙂